Because Adobe Acrobat Reader isn’t capable of photo editing, you may need to edit your photos first before placing them on your template. The most common photo editing needs are the following:
- cropping a photo to a square
- rotating the photo to the correct orientation (if the photo appears sideways)
- or improving or enhancing the quality of the photo
Use your favorite photo editor on your computer or even on your mobile device, but in case you don’t have a preferred photo editor, this post will give you an idea how you can do these basic editing using the website PIXLR, a free online photo editing tool. PIXLR, has a paid version called PIXLR PRO, but for the photo editing that we’ll do, the free version PIXLR X is actually more than enough.
How to crop your photo into a square using PIXLR X:
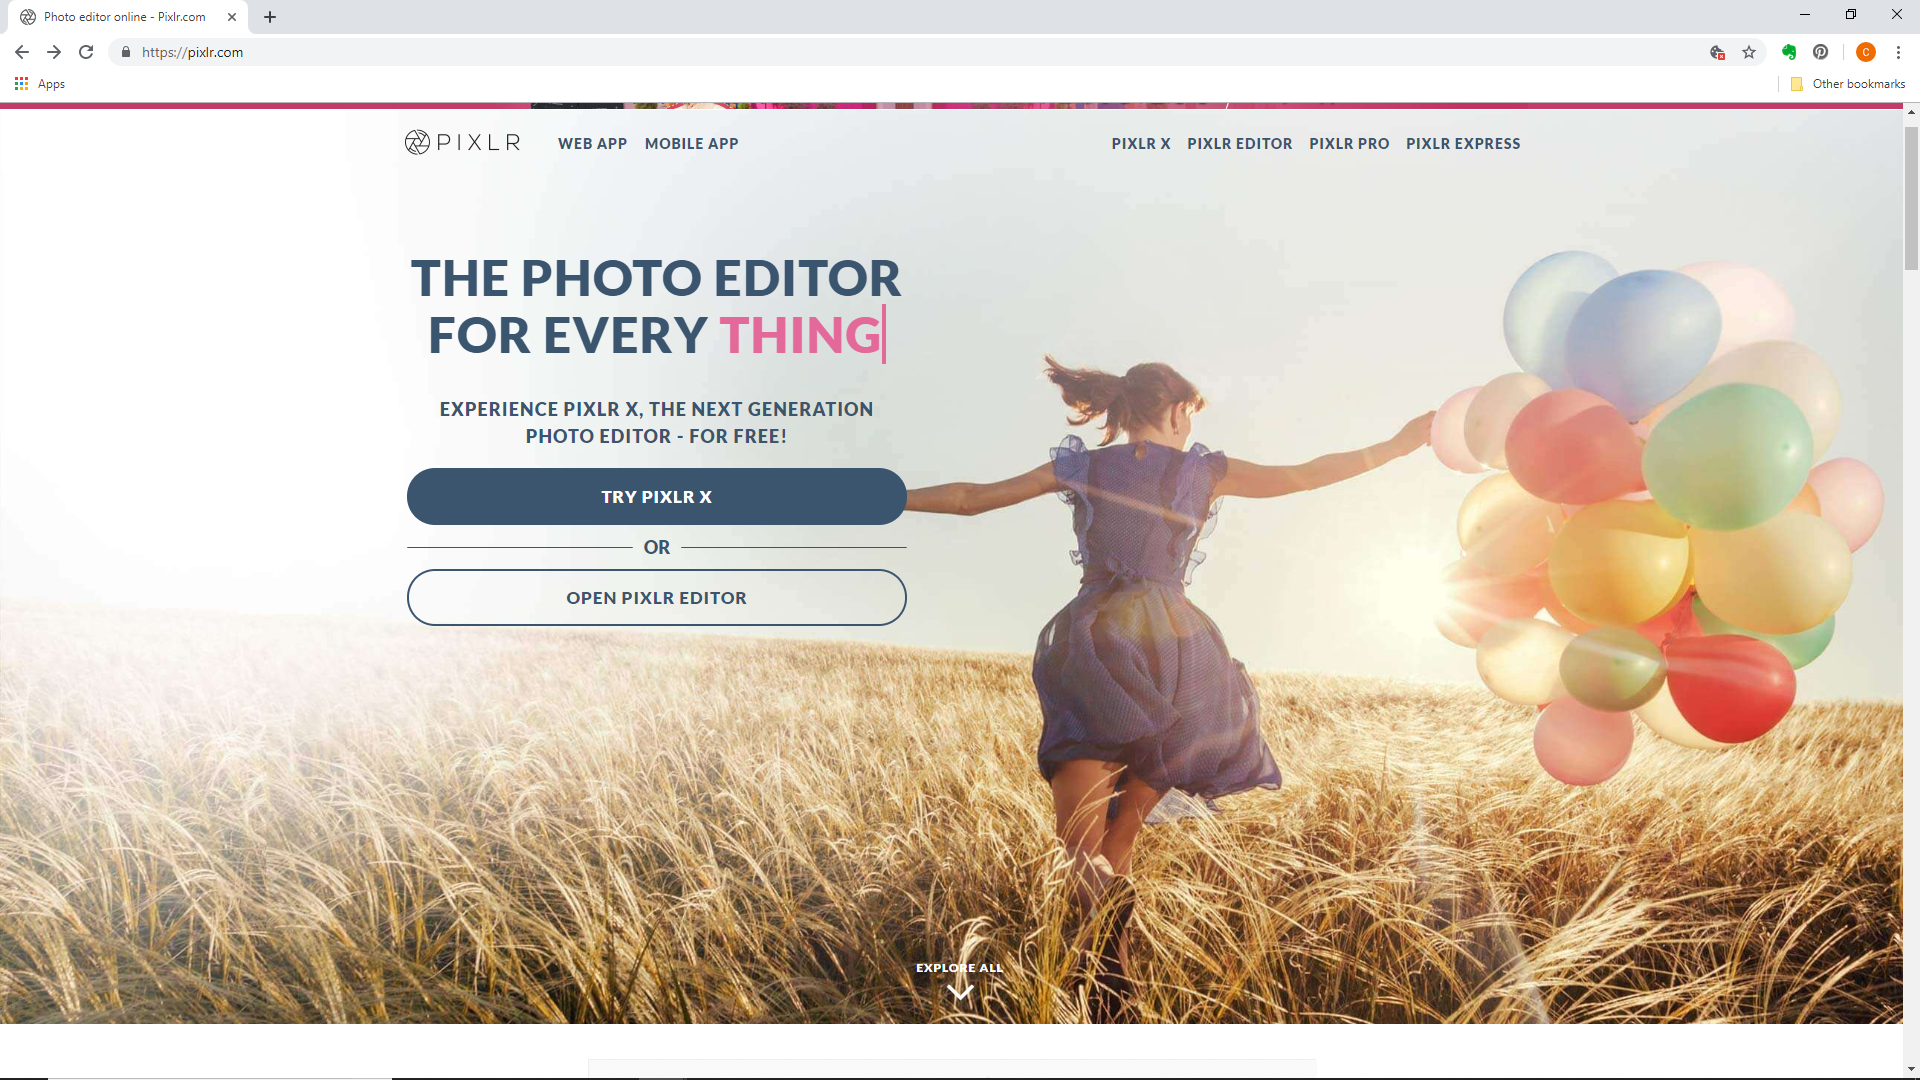
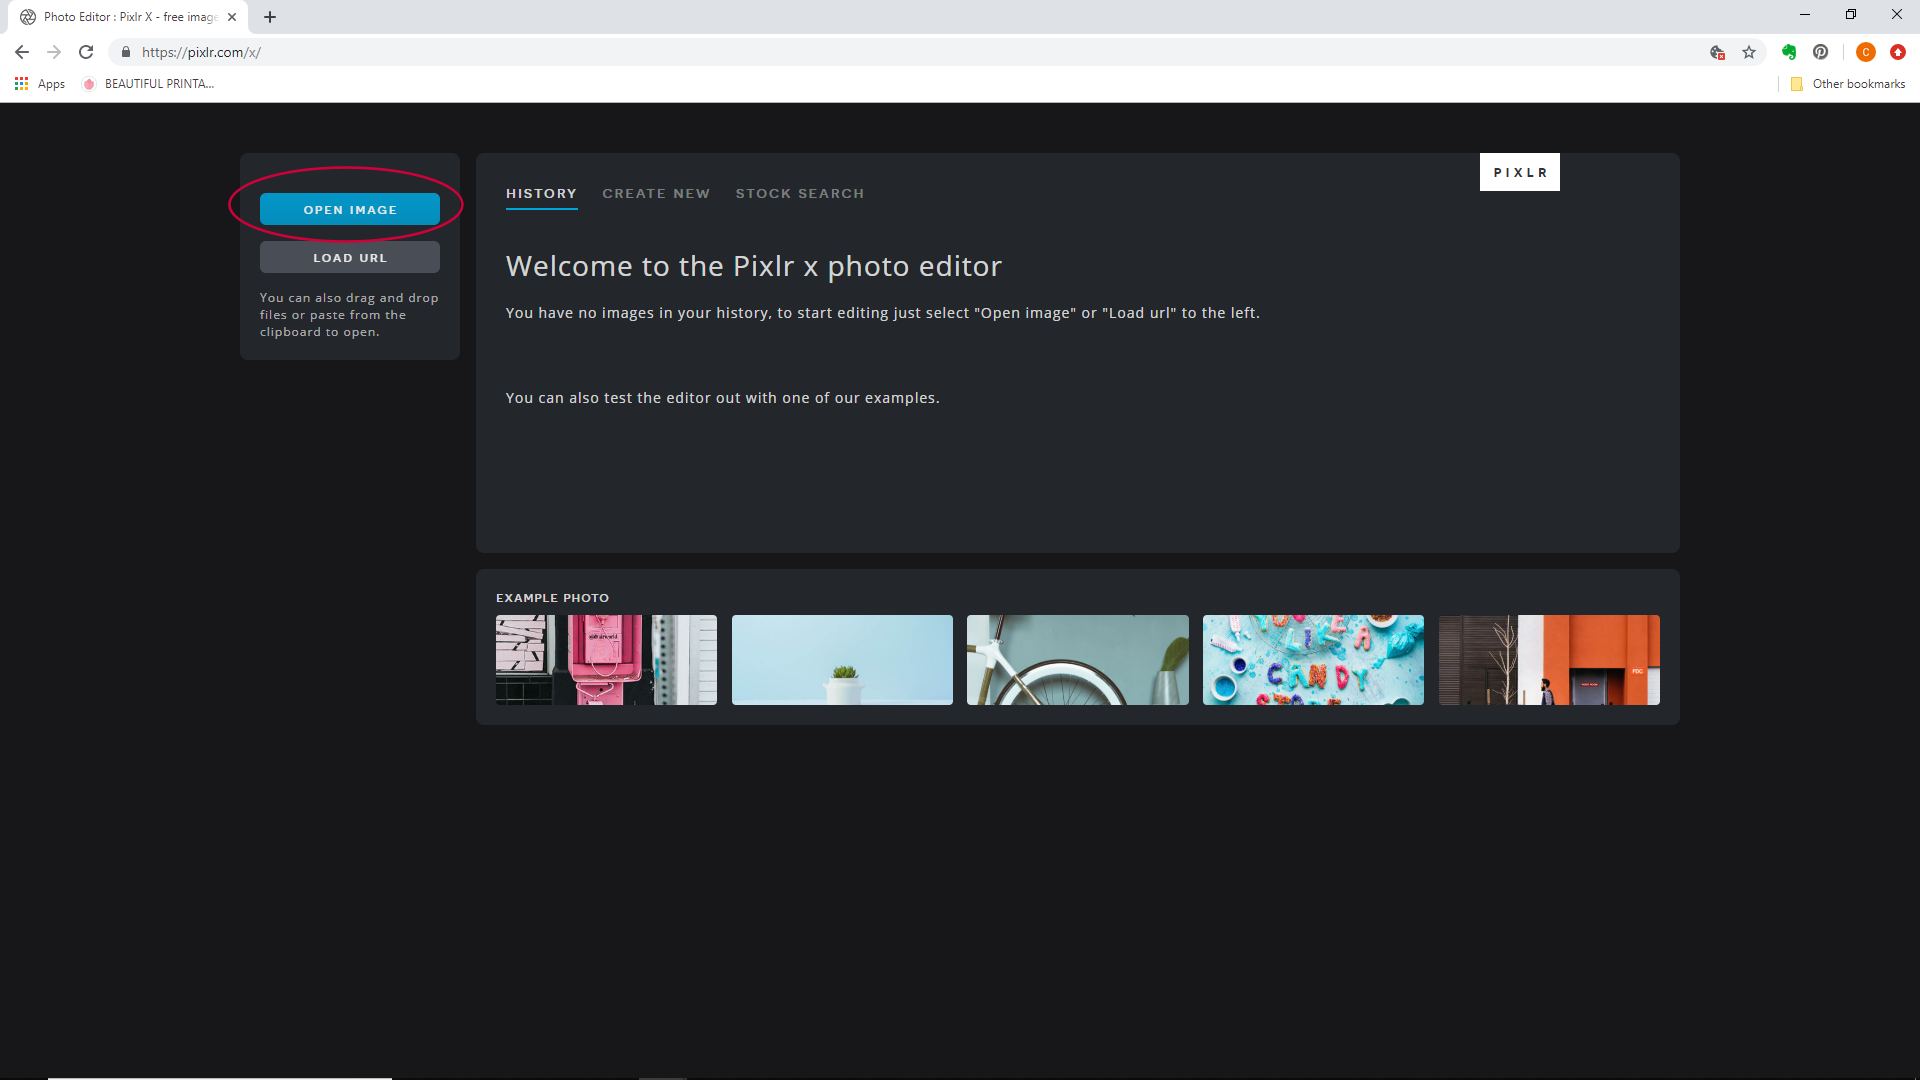
1. Click here to go to the PIXLR X website or type pixlr.com/x on your browser. From this page, click on OPEN IMAGE and a window will pop up for you to select an image from your computer.
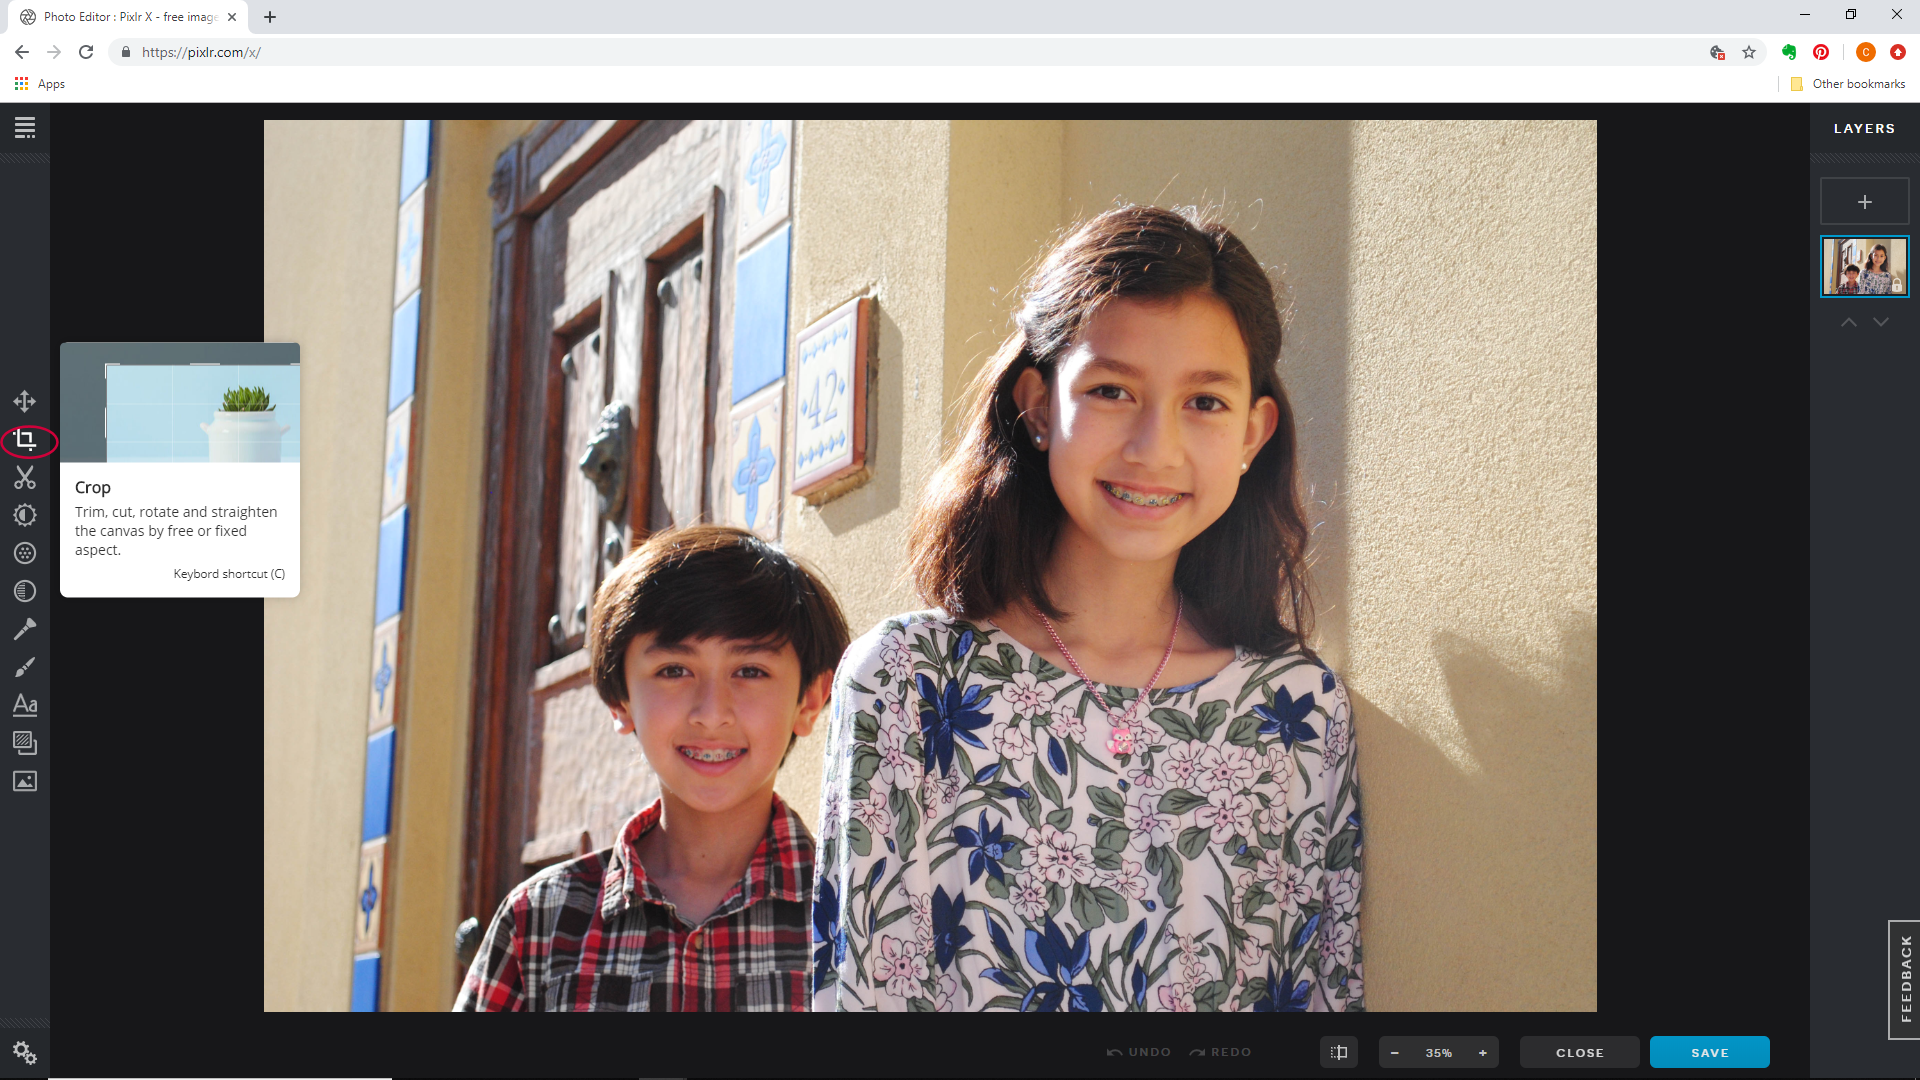
2. When you have your photo displayed on the screen, click on the CROP icon found on the left panel to display the CROP options panel.
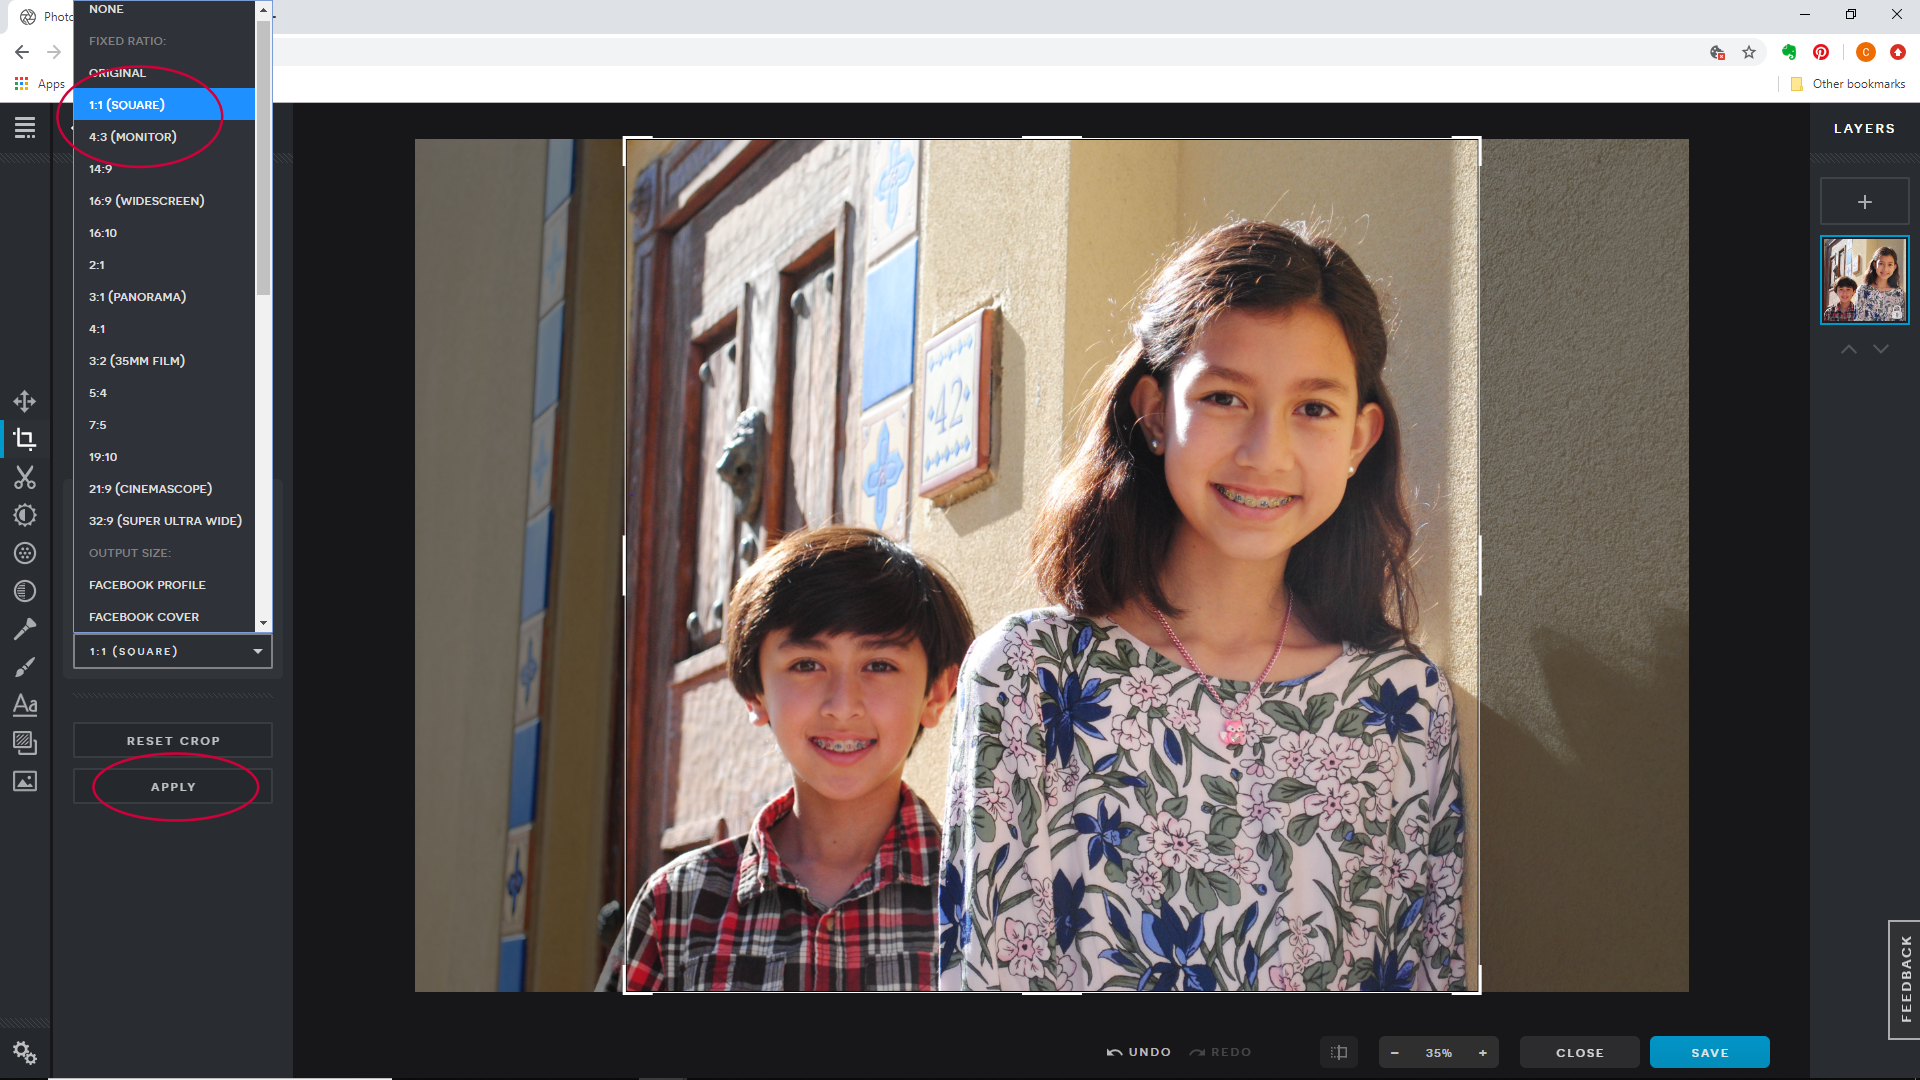
3. When you see the CROP options panel, go to SELECT ASPECT and click the slider to move it to the right to see even more options. Then, at PRESET click on the pull down arrow to see the list of dimensions.
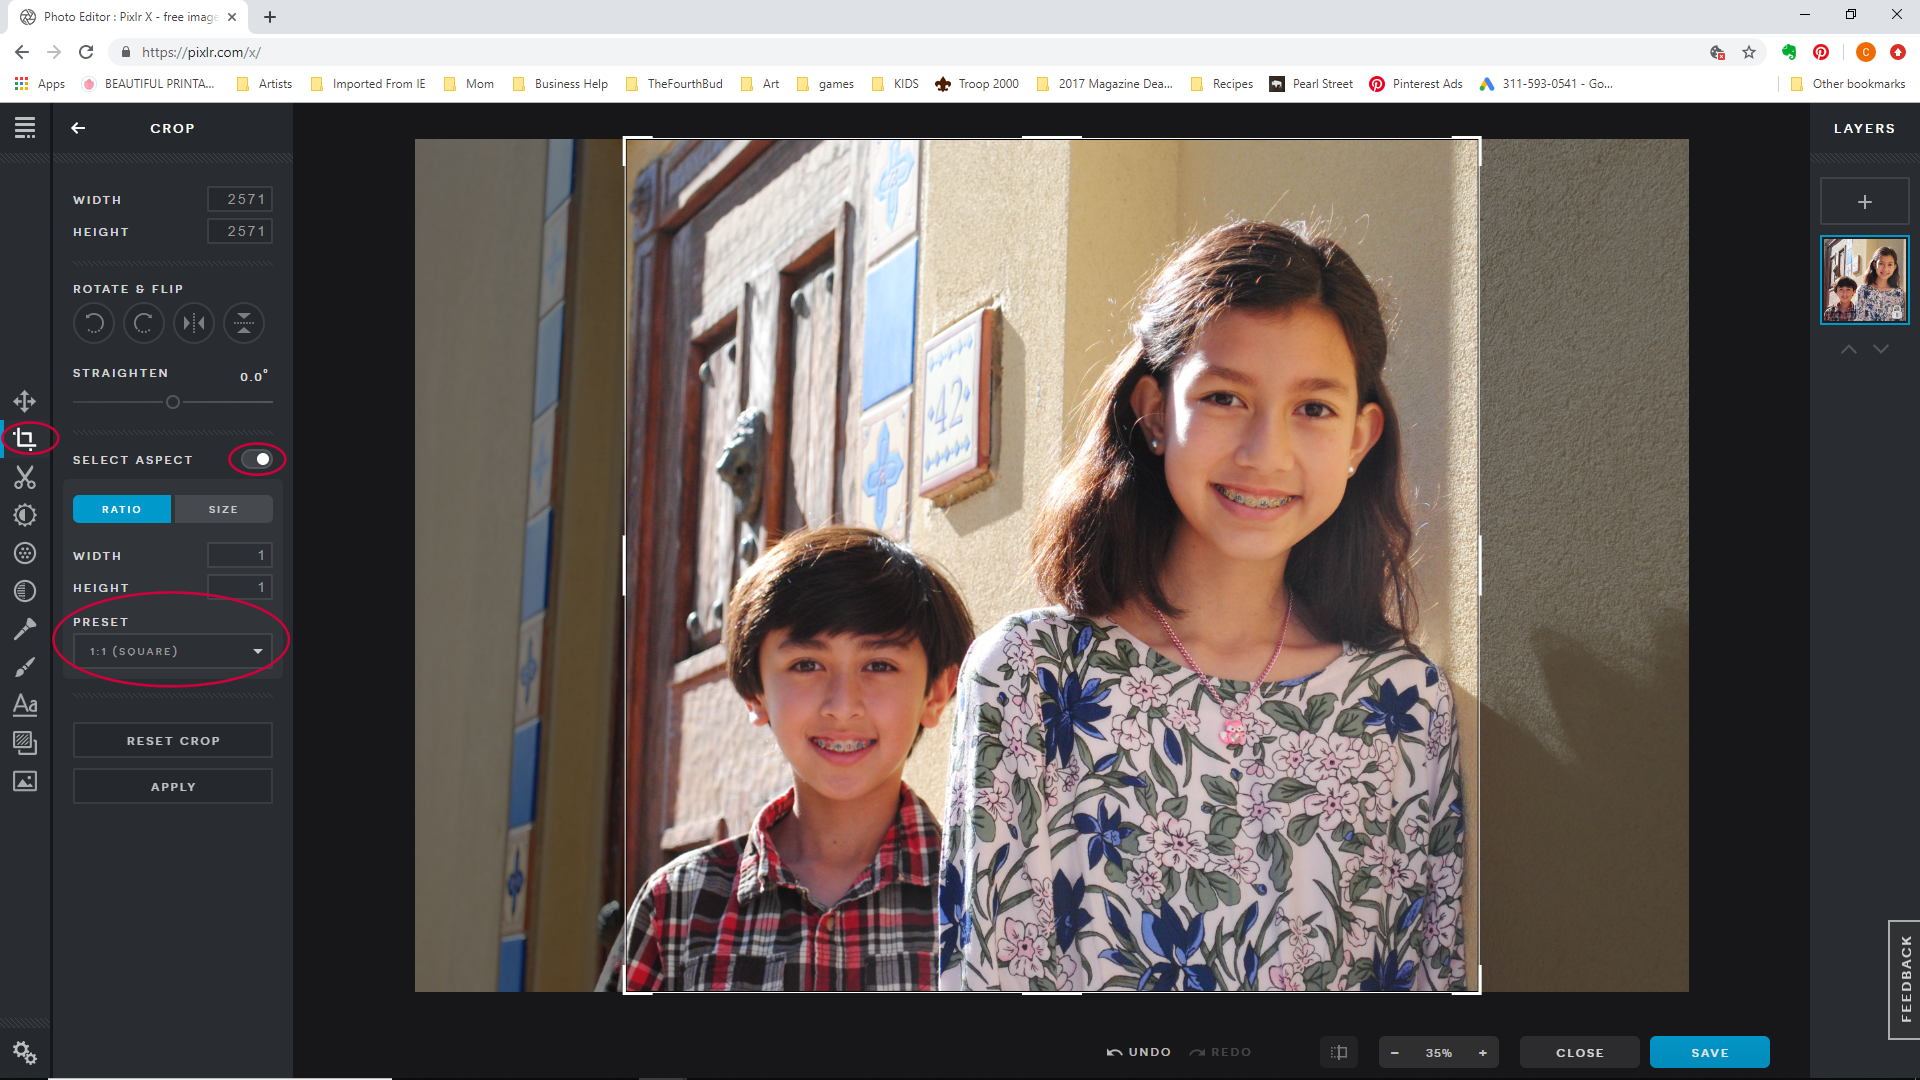
4. Click on 1:1 for a square photo. Then, move the square box that you see on your photo to the area that you want to crop. You can also resize that box larger or smaller to include only the areas you want to be inside your square image. When you’re done, press the enter key or click on APPLY and your photo will then be cropped.
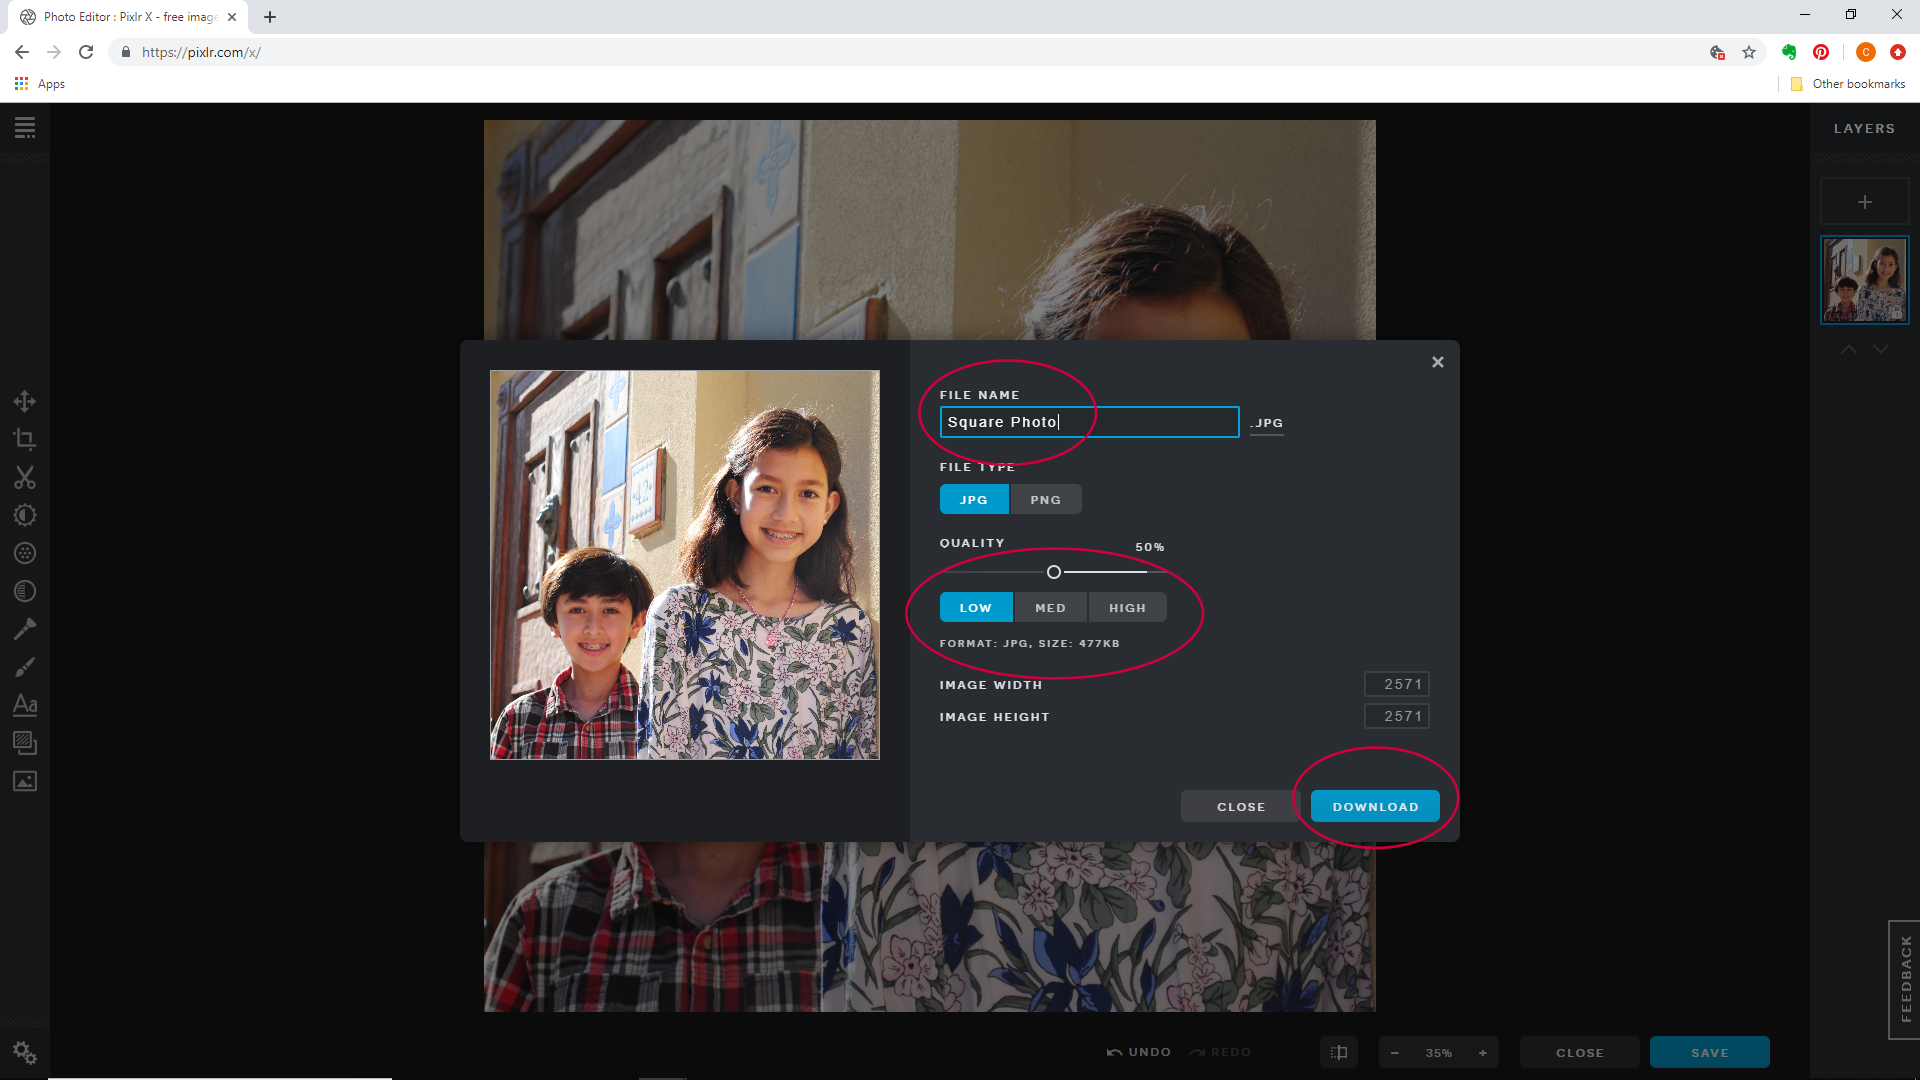
4. At this point, you can save your photo by simply clicking on the SAVE button and the box below will pop up so you can enter a filename, select file type, and quality. For quality, note that the higher the quality the larger your file size is going to be. If the template you’re using requires only a small photo, LOW or MED should be enough. And, if there are several photos needed in the template, I suggest using LOW. This is because all the HIGH quality photos added up can make your template become too large in file size and this can potentially slow down your computer.
Then, when you’re done, click on the DOWNLOAD button.
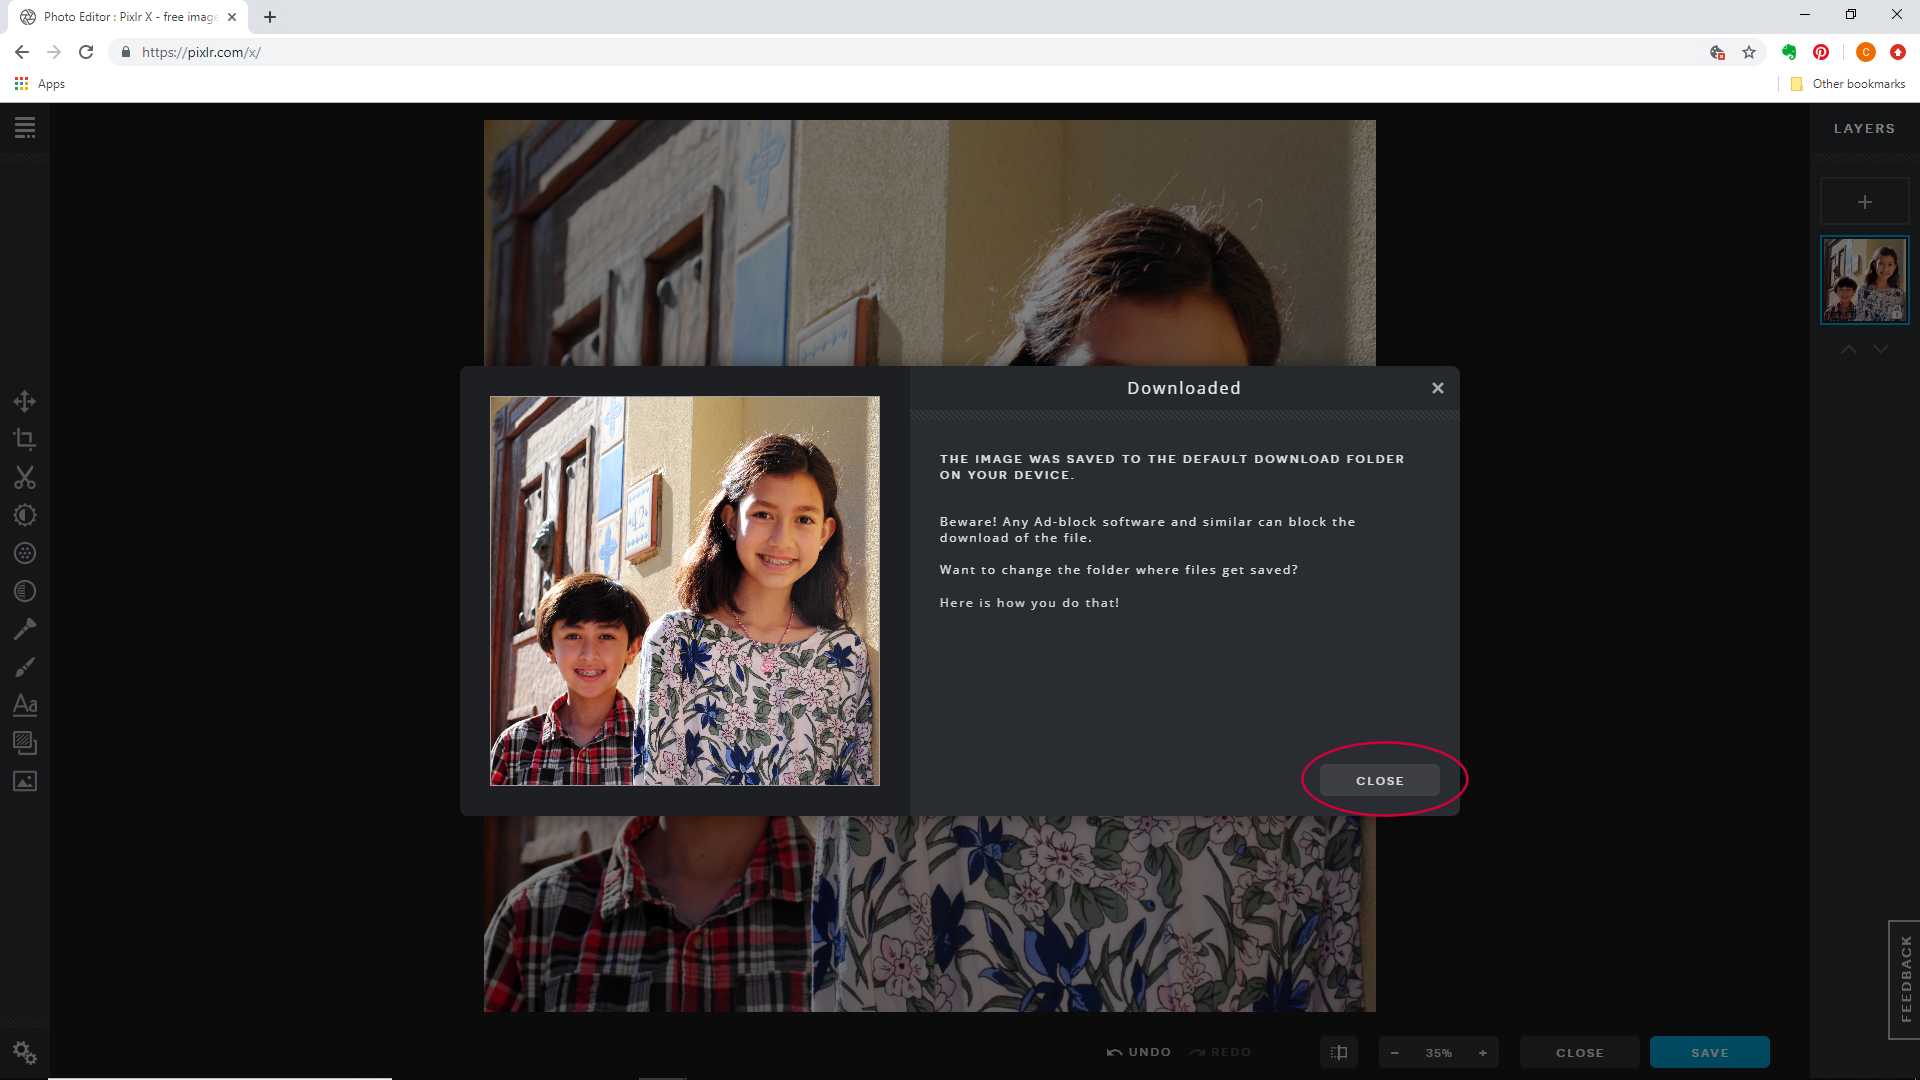
6. Your file will then be downloaded to your computer. For most computers, the file is saved to the DOWNLOADS folder, so check your downloads folder for your edited photo.
That’s it! You can now upload your square photo onto your template.
How to Rotate Your Photo.
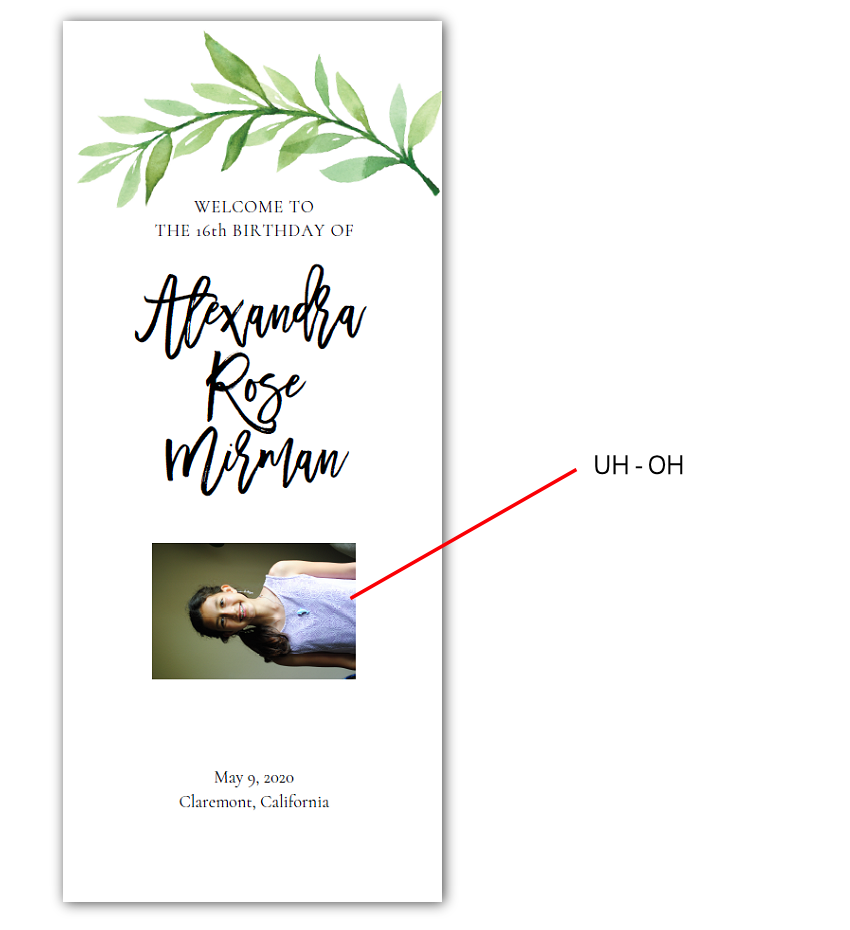
If you inserted a photo in your template and it appeared sideways or upside down, this means that the original photo is actually in this orientation. This happens to me when I flip my camera or phone to take a landscape or portrait photo and I hit the shutter too quickly before my camera could adjust the orientation. While our computer’s photo library and our smart phones may display a photo in the correct orientation even if it’s originally sideways, Acrobat Reader can not. Acrobat Reader will display the photo in its original format. Hence, the sideways or upside down photo. But, rotating a photo is easy to do.
Using PIXLR, here how it’s done:
1. Click here to go to the PIXLR X website, or type pixlr.com/x on your browser. Click on OPEN IMAGE and a window will pop up for you to select your photo from your computer.
2. If your photo displays correctly, that’s great. All you need to do now is to click on SAVE (to ensure that you have the correct orientation) and then DOWNLOAD your file. The photo will then be saved in the correct orientation and is now ready to be used in your template.
3. But if you see your photo sideways, click on the CROP icon on the left panel. Then, on the ROTATE & FLIP section, click on the arrow to the right or left to rotate your photo and keep on clicking until it’s finally in the correct orientation.
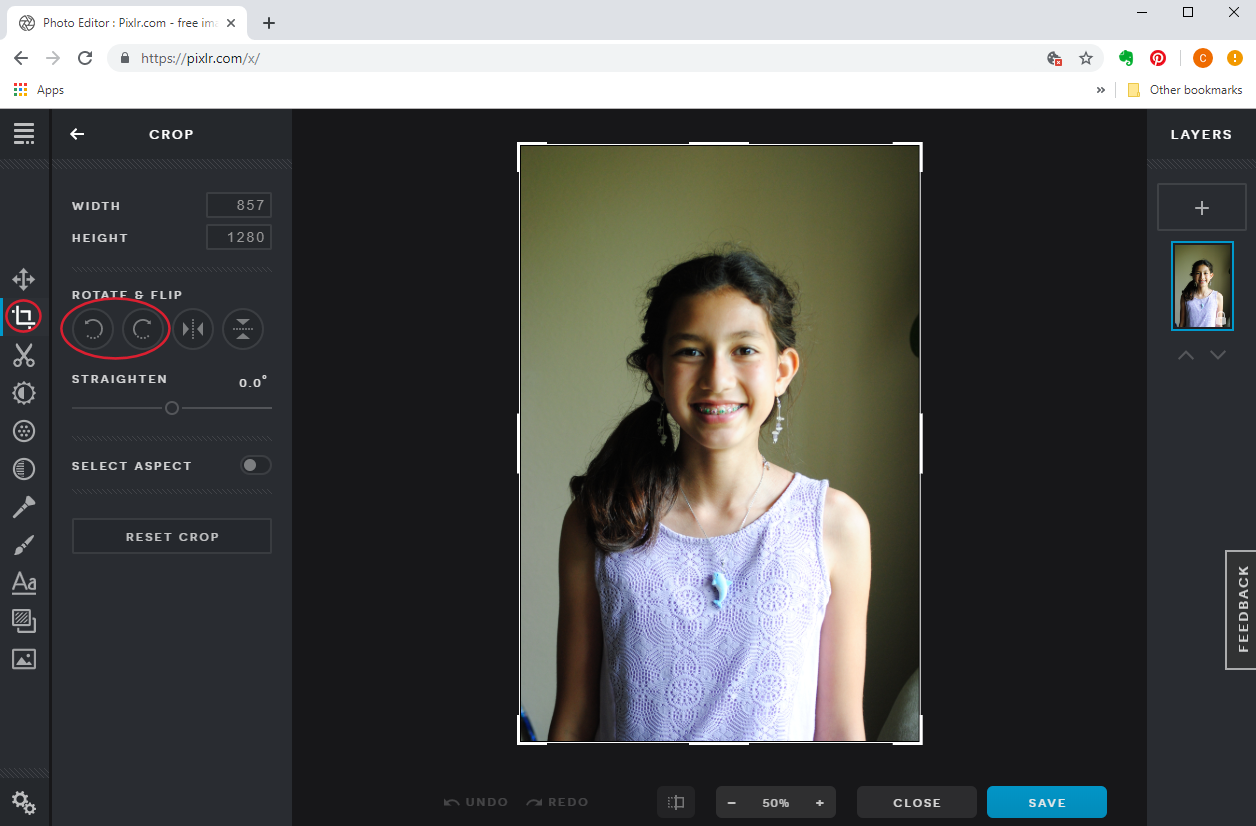
4. When you’re done, click on SAVE and then DOWNLOAD it to your computer. You can now insert this photo in your template using Acrobat Reader.
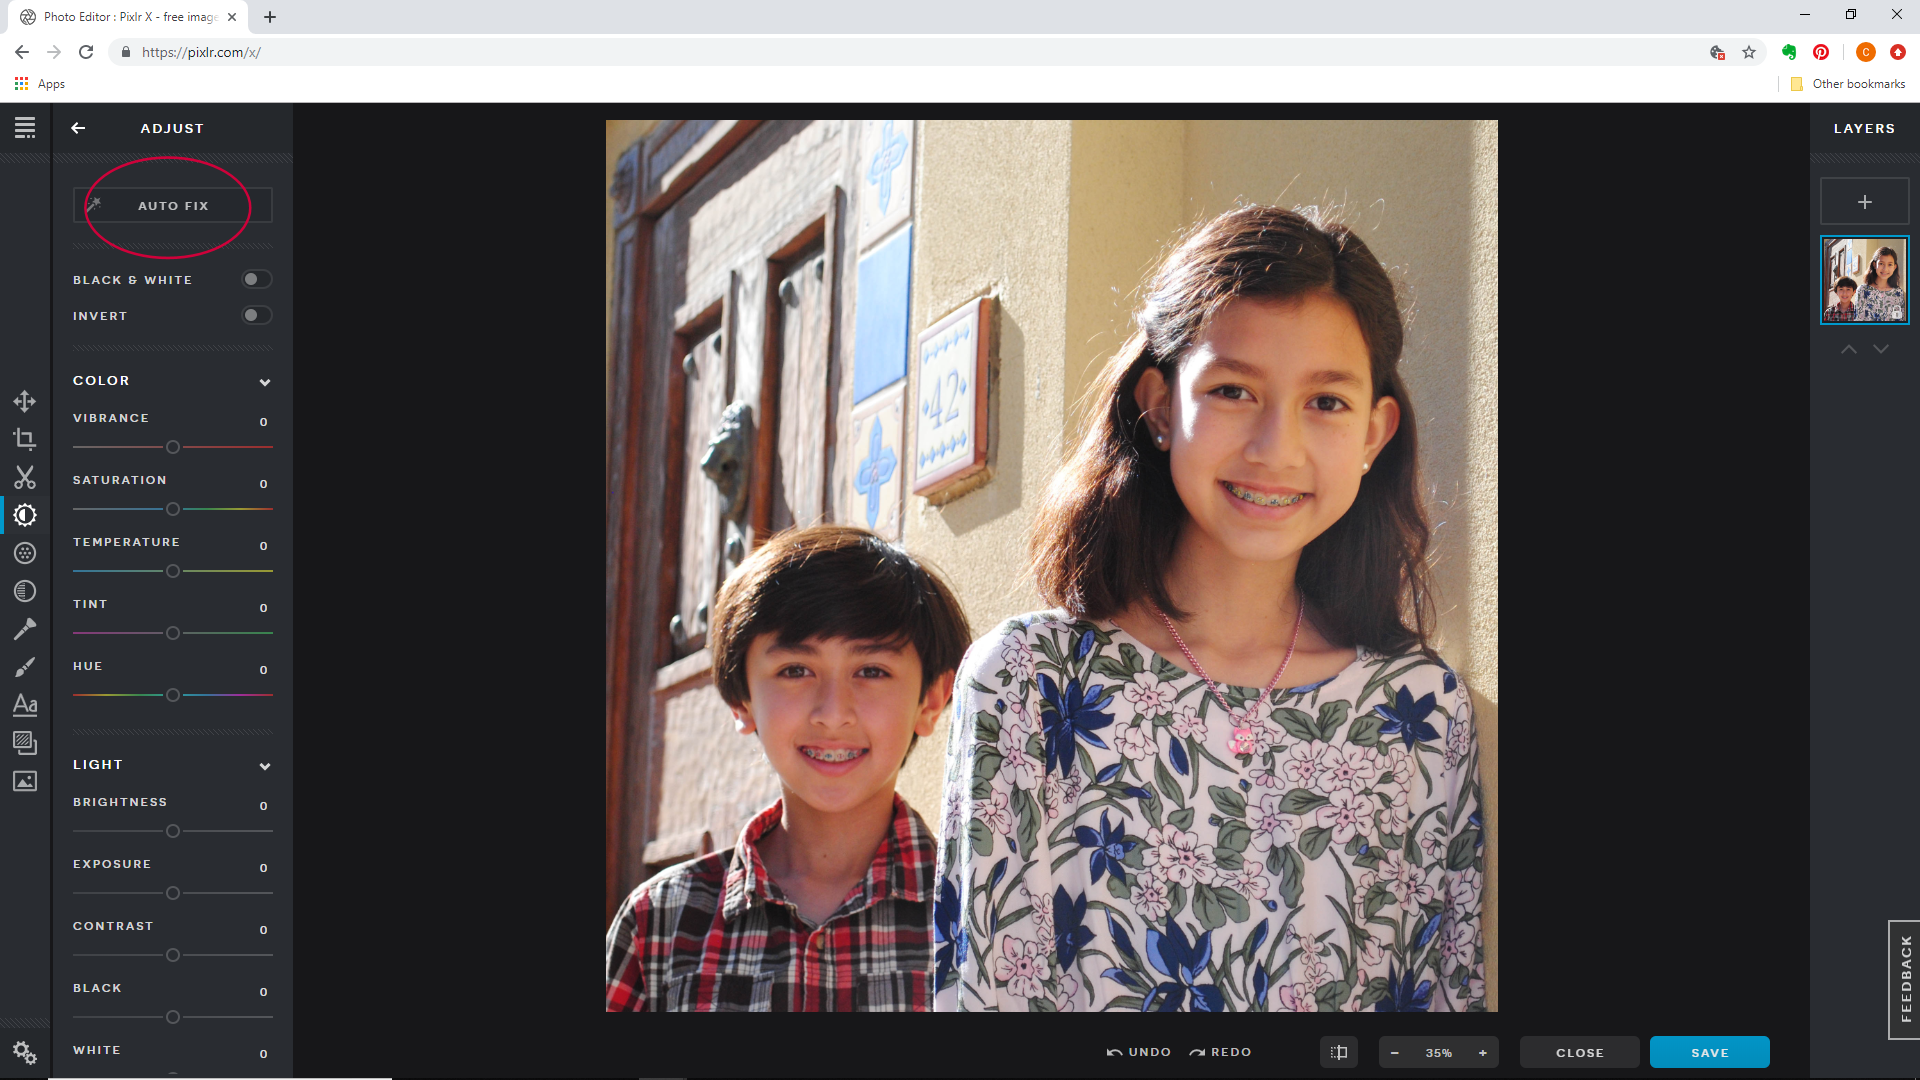
How to enhance your photo.
You can also adjust and enhance how the photo looks using PIXLR. You can do this by clicking on the ADJUST icon on the left panel and a set of options will appear to help you improve your photo.
If you want the fastest and easiest way to enhance your photo, try the AUTO FIX button. Click on AUTO FIX and it will automatically improve the photo for you. But if this is still not enough, you have plenty of control to improve your photo by playing with the options on the left panel. Adjust the COLOR and LIGHT until you’re happy with how it looks. Enhancing a photo can be very subjective so I’ll leave how much to adjust the settings to you. I know I often need to increase the brightness and exposure of my photos (I tend to take underexposed photos a lot apparently!). And don’t worry, there’s always the UNDO button (or hit CTRL-Z or COMMAND-Z) if you don’t like how your adjustments turn out.
When you’re done, just click on SAVE, then DOWNLOAD it to your computer.
The options when saving your edited photo.
Lastly, I want to once again mention the options when saving your edited photo.
When you click on the SAVE button, a box will pop up for you to enter a filename, select file type, and quality.
For FILE TYPE, you can choose either JPG or PNG. They are both acceptable image formats for the templates in my shop.
For QUALITY, note that the higher the quality the larger your file size is going to be. Keep in mind that if there are several photos needed in the template, you may need to select LOW. The file size of the photos can add up which can make your template large in file size too. Depending on the computer you are using, a large file size can potentially slow down your computer and create a lag. But if you think your computer can handle working with a large file, feel free to choose any quality you want.
So, that’s it! I’m really happy with PIXLR X and even more so while I was writing this post. I hope PIXLR makes your photo editing needs simpler and easier.
……………..
Disclaimer: I am not affiliated with PIXLR and the opinions and tutorials are all mine. Also, PIXLR may occasionally update their website. If that happens, the screen shots in this post will no longer look exactly the same as the website after an update. However, PIXLR X is very easy to use and I’m confident that you all would be able to easily figure things out. 🙂