If you’re using an editable Adobe PDF newsletter template from my shop, did you know that you can also create an image of your completed newsletter that you can share on social media, post on your blog, or send as an email attachment? You can also do this to your completed invitation or event program PDF template that you want to share electronically.
If you have a subscription to Adobe, you can simply use the EXPORT PDF function on the right panel of your Adobe Acrobat Reader, and then convert it to a PNG or JPG file.
But if you DON’T have a subscription to Adobe, this tutorial is for you!
What you need: We’ll be using Adobe Acrobat Reader (the free version) to open and view your completed template, and wel’l also be using the online photo editor PIXLR for creating the final image.
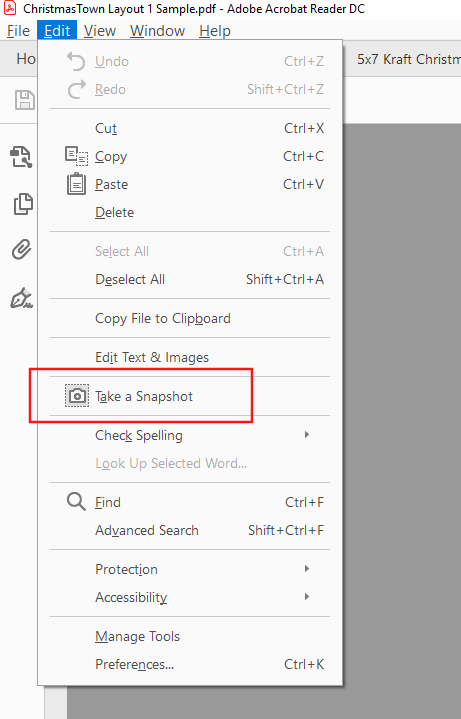
In Adobe Acrobat Reader, there is this handy tool called “Take A Snapshot” that we’ll be using . You can find this in Adobe Acrobat Reader by going to the menu at the top and selecting EDIT > Take A Snapshot. If you can’t find this selection on your menu, please download and install the latest version of Adobe Acrobat Reader at http://get.adobe.com/reader.
Let’s begin.
STEP 1. OPEN YOUR COMPLETED PDF FILE. Launch Adobe Acrobat Reader and open your completed newsletter, program or invitation template by clicking on FILE > OPEN, and select your completed template PDF file.
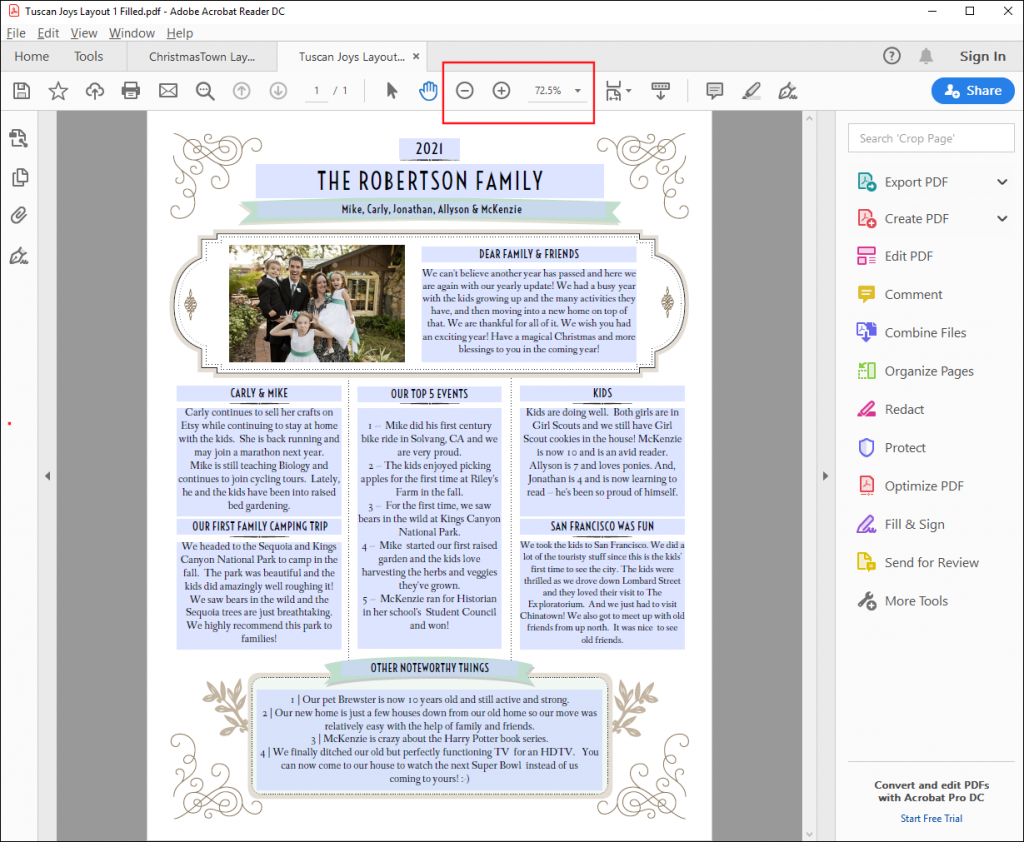
STEP 2. Now that your file is opened in Adobe Acrobat Reader, let’s then make your entire template fill your screen. Zoom out if some parts are not showing, or zoom in if the template doesn’t quite yet fill up your screen.
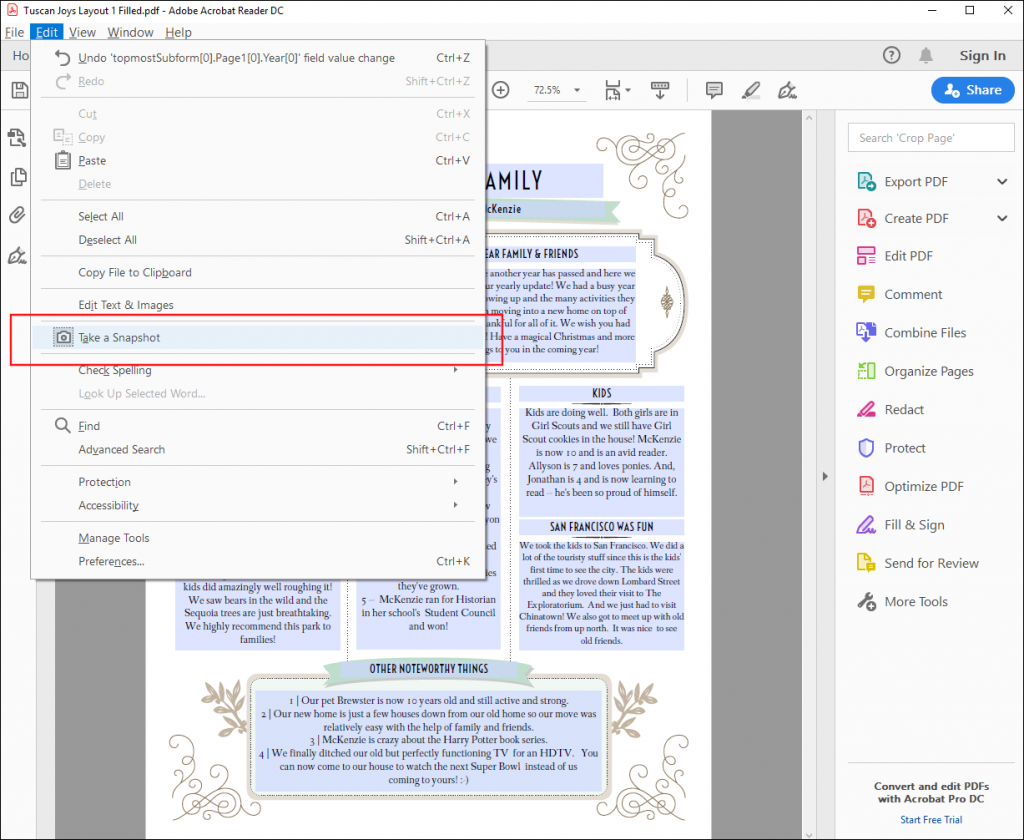
STEP 3. We’re now ready to take a snapshot of that completed template. From the menu, select EDIT > TAKE A SNAPSHOT. (Remember that if you don’t see this in your menu, you’ll need to download and install the latest version of Adobe Acrobat Reader at http://get.adobe.com/reader. )
STEP 4. SELECT THE AREA TO COPY. After you’ve clicked on “Take A Snapshot”, you’ll notice that your mouse pointer on the screen will change into a crosshair. This means that you can now start selecting the area you want to copy. Click on one corner and drag until you’ve included everything that you want to be in your image, then release your mouse. Here’s a video clip on how it’s done.
If you’re copying the entire page, zoom out (or zoom in) first until you have the entire newsletter on the screen and then click once anywhere on the page. This will automatically copy the whole page. Watch how this is done in the video below.
To leave the “TAKE A SNAPSHOT” mode, click anywhere on your document in Adobe Acrobat Reader and press the ESC key.
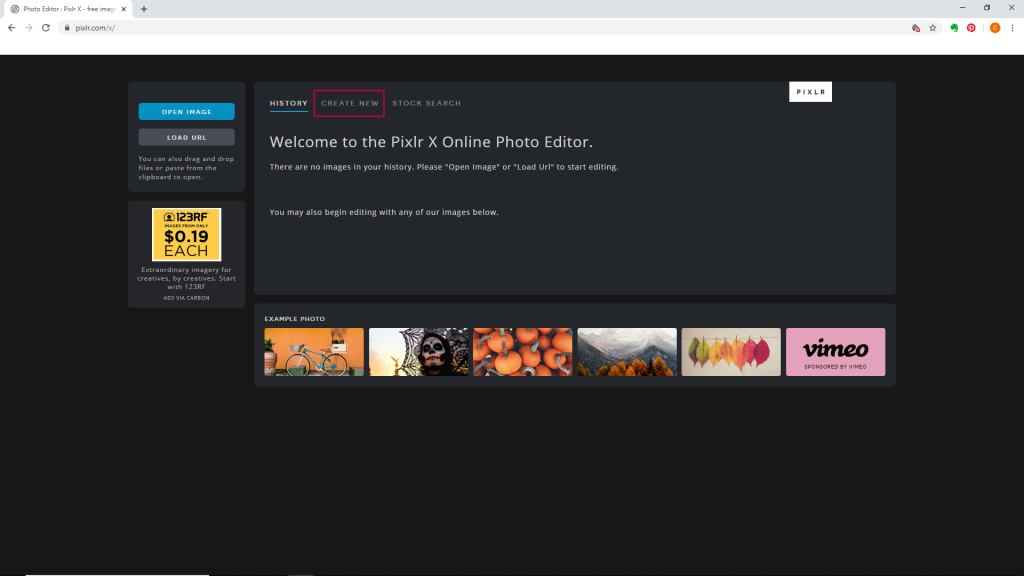
STEP 5. Let’s now head on to the PIXLR webiste. On your browser, go to the PIXLR website (http://PIXLR.com/X). And in the menu select CREATE NEW.
STEP 6. Let’s then paste what you had just copied earlier into this PIXLR workspace by pressing CTRL-V (for Windows) or Command-V (for Mac). The image of your completed template will now be displayed on the screen.
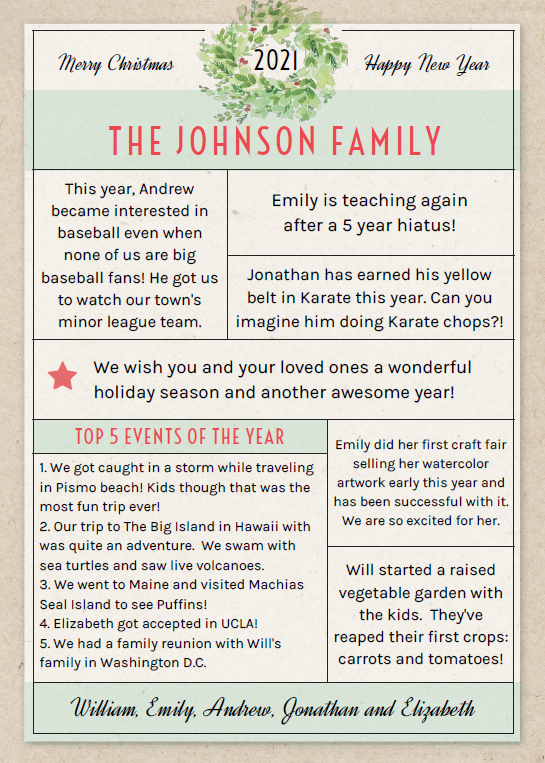
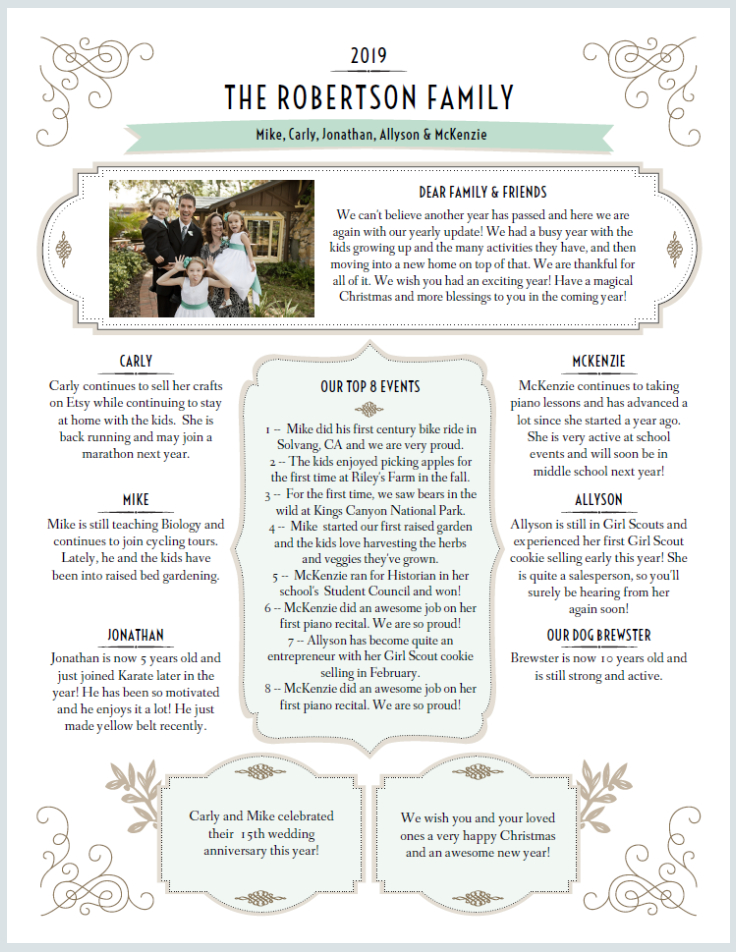
For some templates, like the 5×7 year in review below, the image already looks great as it is, which means that you are pretty much done. All you need to do next is to save your image and download it to your computer.
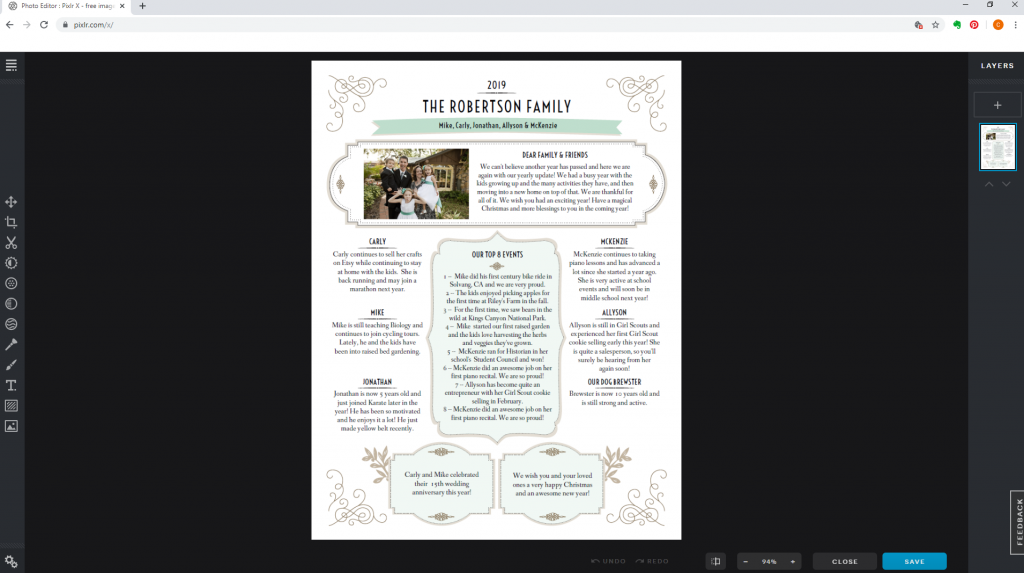
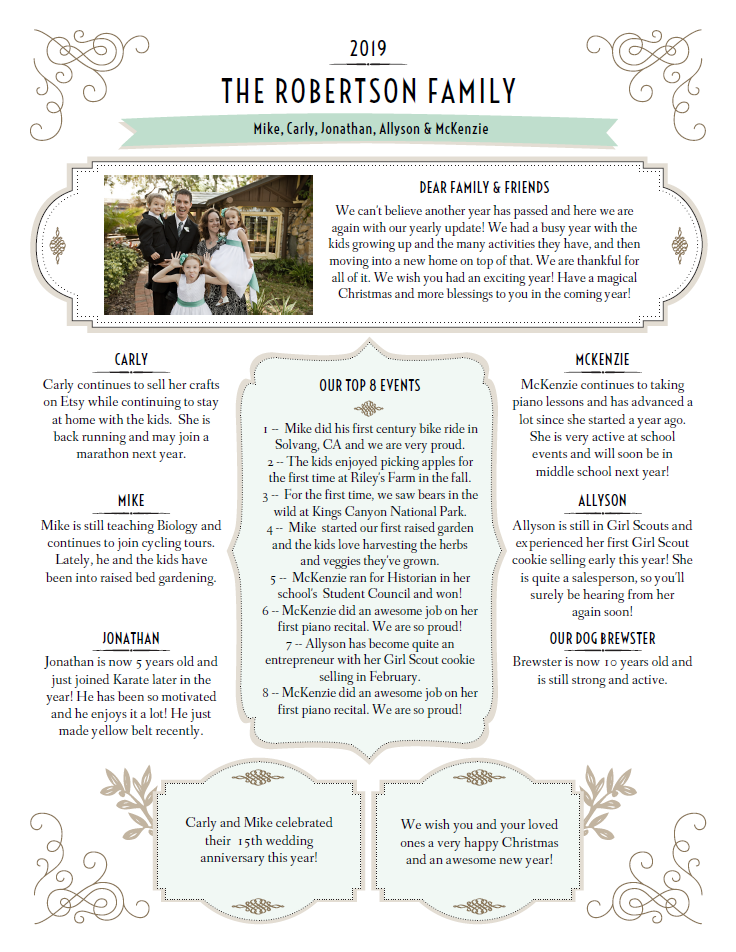
However, if your template has a white border, you may want to create a colored background to create a contrast so that the white border of your newsletter, invitation or program will not disappear into the background just as you see in this newsletter below. To do this, proceed to the next steps.
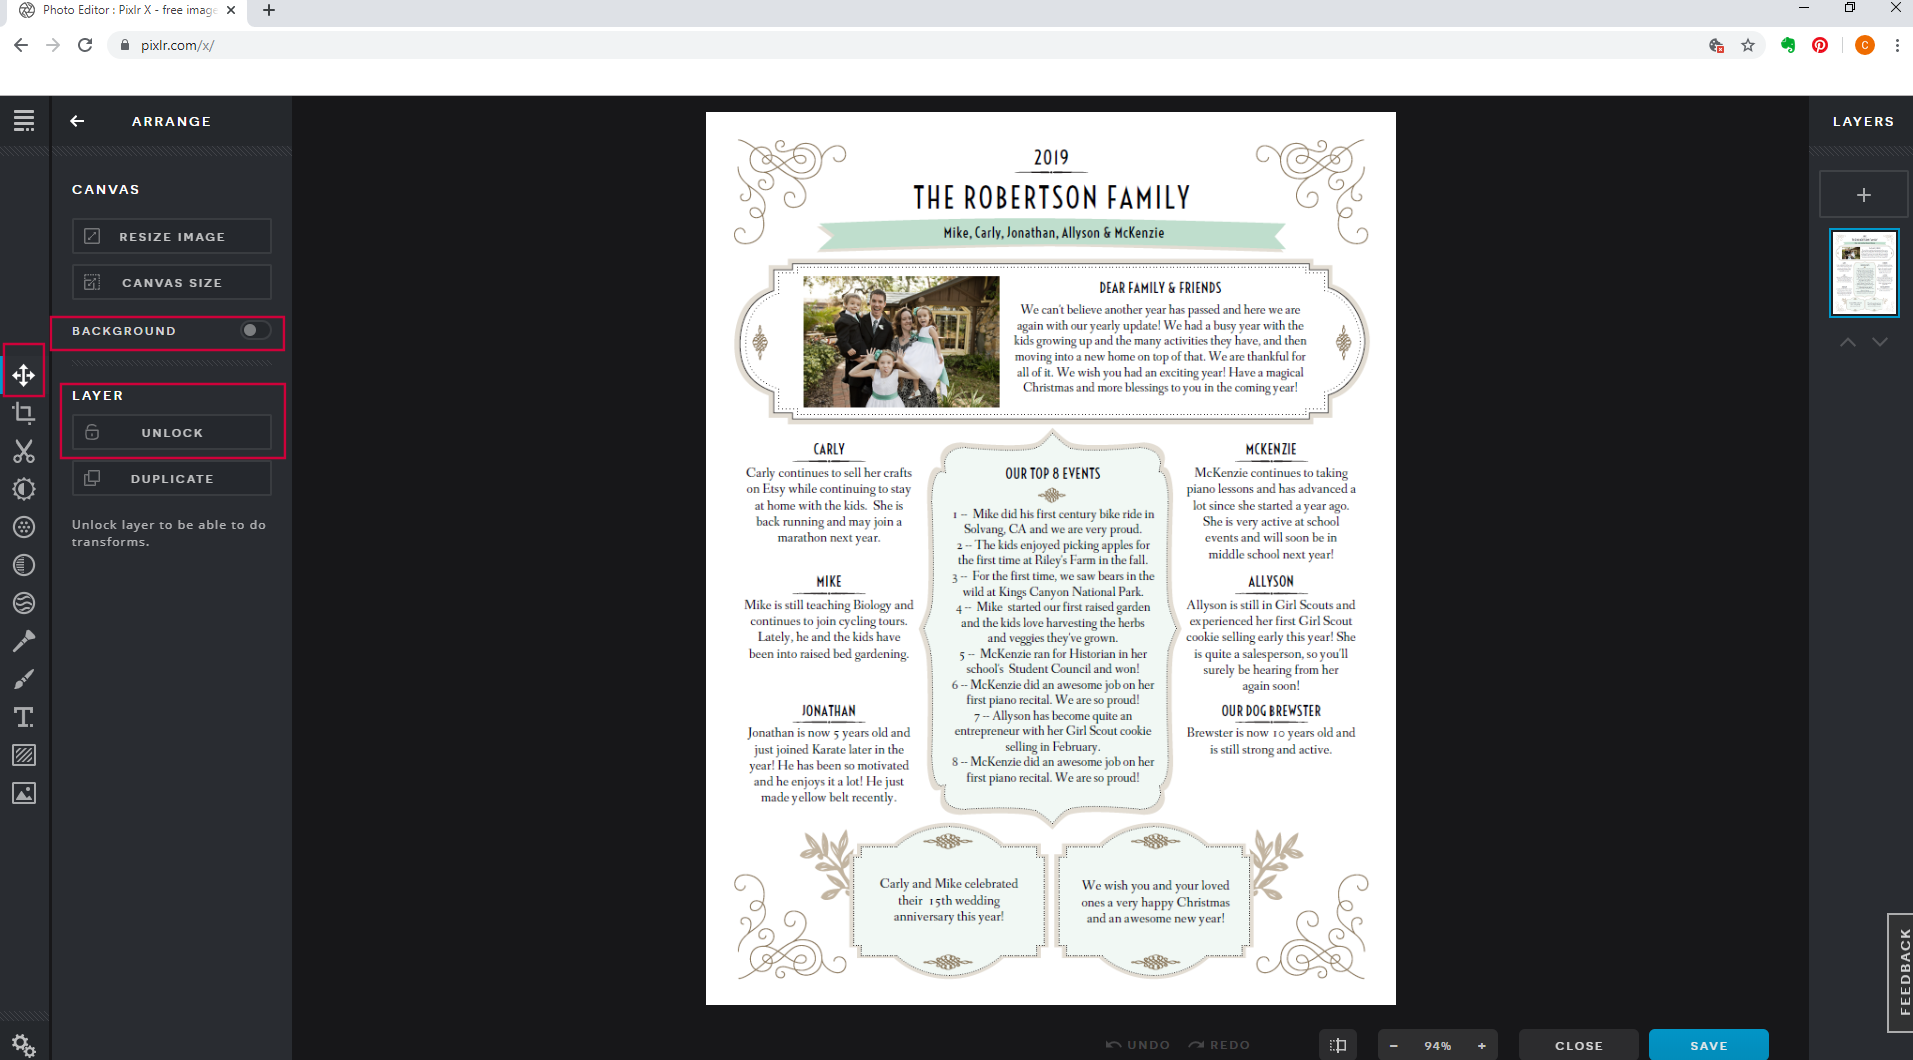
STEP 7. CREATE A BACKGROUND FOR YOUR IMAGE. On the left panel of the PIXLR website, click on the first icon in the selection that looks like a cross to show more options. Then click on UNLOCK LAYER so that we can edit the newsletter image later.
STEP 8. Toggle Background to ON and select a background color. I recommend selecting a very faint background color (like a very light blue or light gray) that is just enough to make your white border visible, and don’t forget to also select a color that compliments your newsletter.
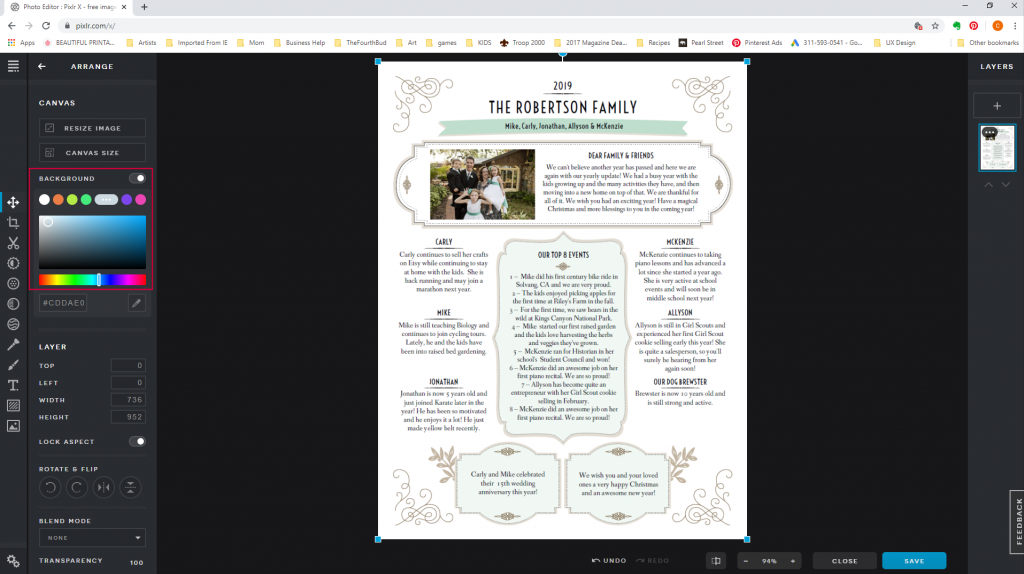
STEP 9. Then resize your template just a tad smaller so that the background shows. To do this, click on one of the corners of the image and drag. Then, center your image by clicking anywhere on the image and dragging it up and down, left and right until it’s centered. You’ll know it’s centered when you see both the red horizontal and vertical guide lines.

Watch the video for steps 7 to 10.
STEP 10. When you’re happy with how it looks, click SAVE (as a PNG or JPG image file), choose the highest quality setting and then DOWNLOAD your file.
TIP : If you play with other PIXLR tools and settings, you’ll find other ways to create interesting backgrounds for your newsletter image.
You can always use your favorite image editor to achieve the same effect, instead of using the PIXLR website.
So, now that you’ve finally created an image of the completed template, you can now send it by email, post in on your blog, or share it on Instagram , Facebook, pinterest and all your other social media accounts for your family and friends to enjoy.